Plugins
Plugins add skills, commands and other extras to your harnesses. Roles choose which ones a session uses. Open Settings > Agents > Plugins.
The page has two tabs: Installed and Browse. Browse lists the marketplace.
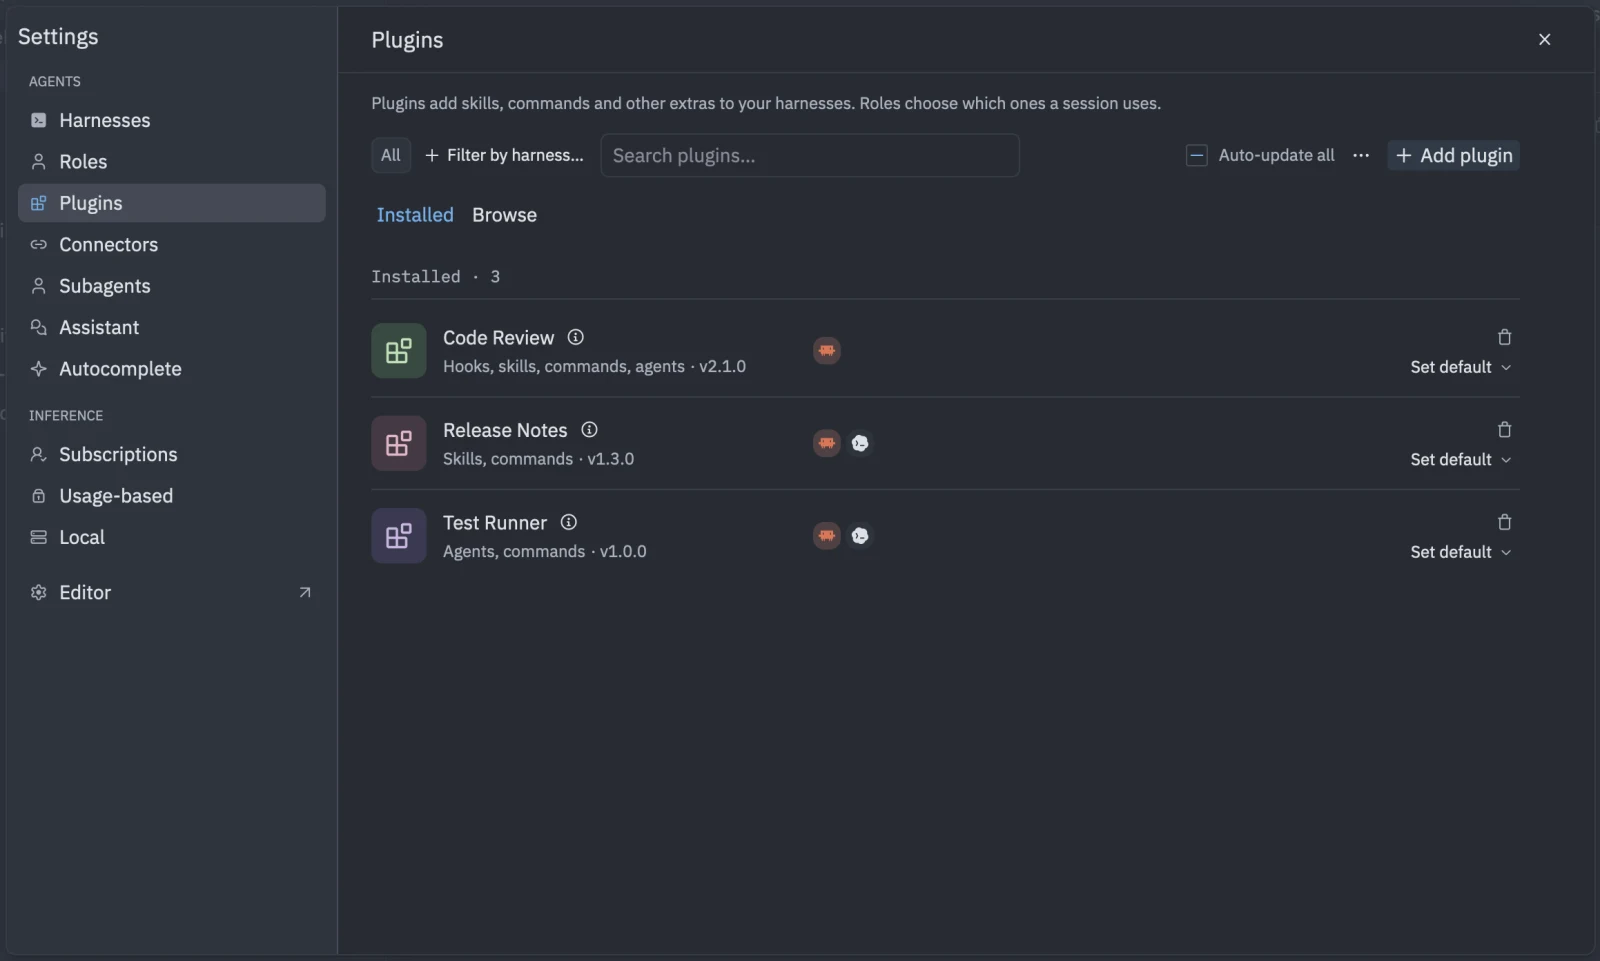
Add a plugin
- Open Settings > Agents > Plugins.
- Click Add plugin.
- Enter a Source. Any of these work:
owner/repoowner/repo@reffor a branch, tag or commitowner/repo/sub/pathfor a folder inside a repo- a git URL
- a local path
- Tyrn inspects the source and lists what it found under Items. Name, version and type are read from the plugin itself.
- Click Install.
Items marked “Runs code on your machine” can run programs, so review a source before installing it. An item that can’t be used shows “Not installable” with the reason.
Update a plugin
Each repository has an auto-update checkbox, off by default. When on, Tyrn checks every 6 hours. You can also use Check all for updates from the toolbar menu.
| Status | Meaning |
|---|---|
| Update available: vX | A newer version exists. |
| Needs review | The repo changed in a way you should look at. Click Review update. |
| Auto-updated to vX | Updated automatically. |
| Check failed | The repo couldn’t be reached. |
| Removed from repo | The source no longer lists this item. |
| Up to date | Shows when it was last checked. |
Default plugins
Switch a plugin to Default for <Harness> to include it in new sessions with that harness. You can also set defaults in Harness defaults.
Remove a plugin
Open the plugin and click Remove.
Plugin repositories are cloned under ~/.tyrn/sources/. Installed plugins are under ~/.tyrn/plugins/.